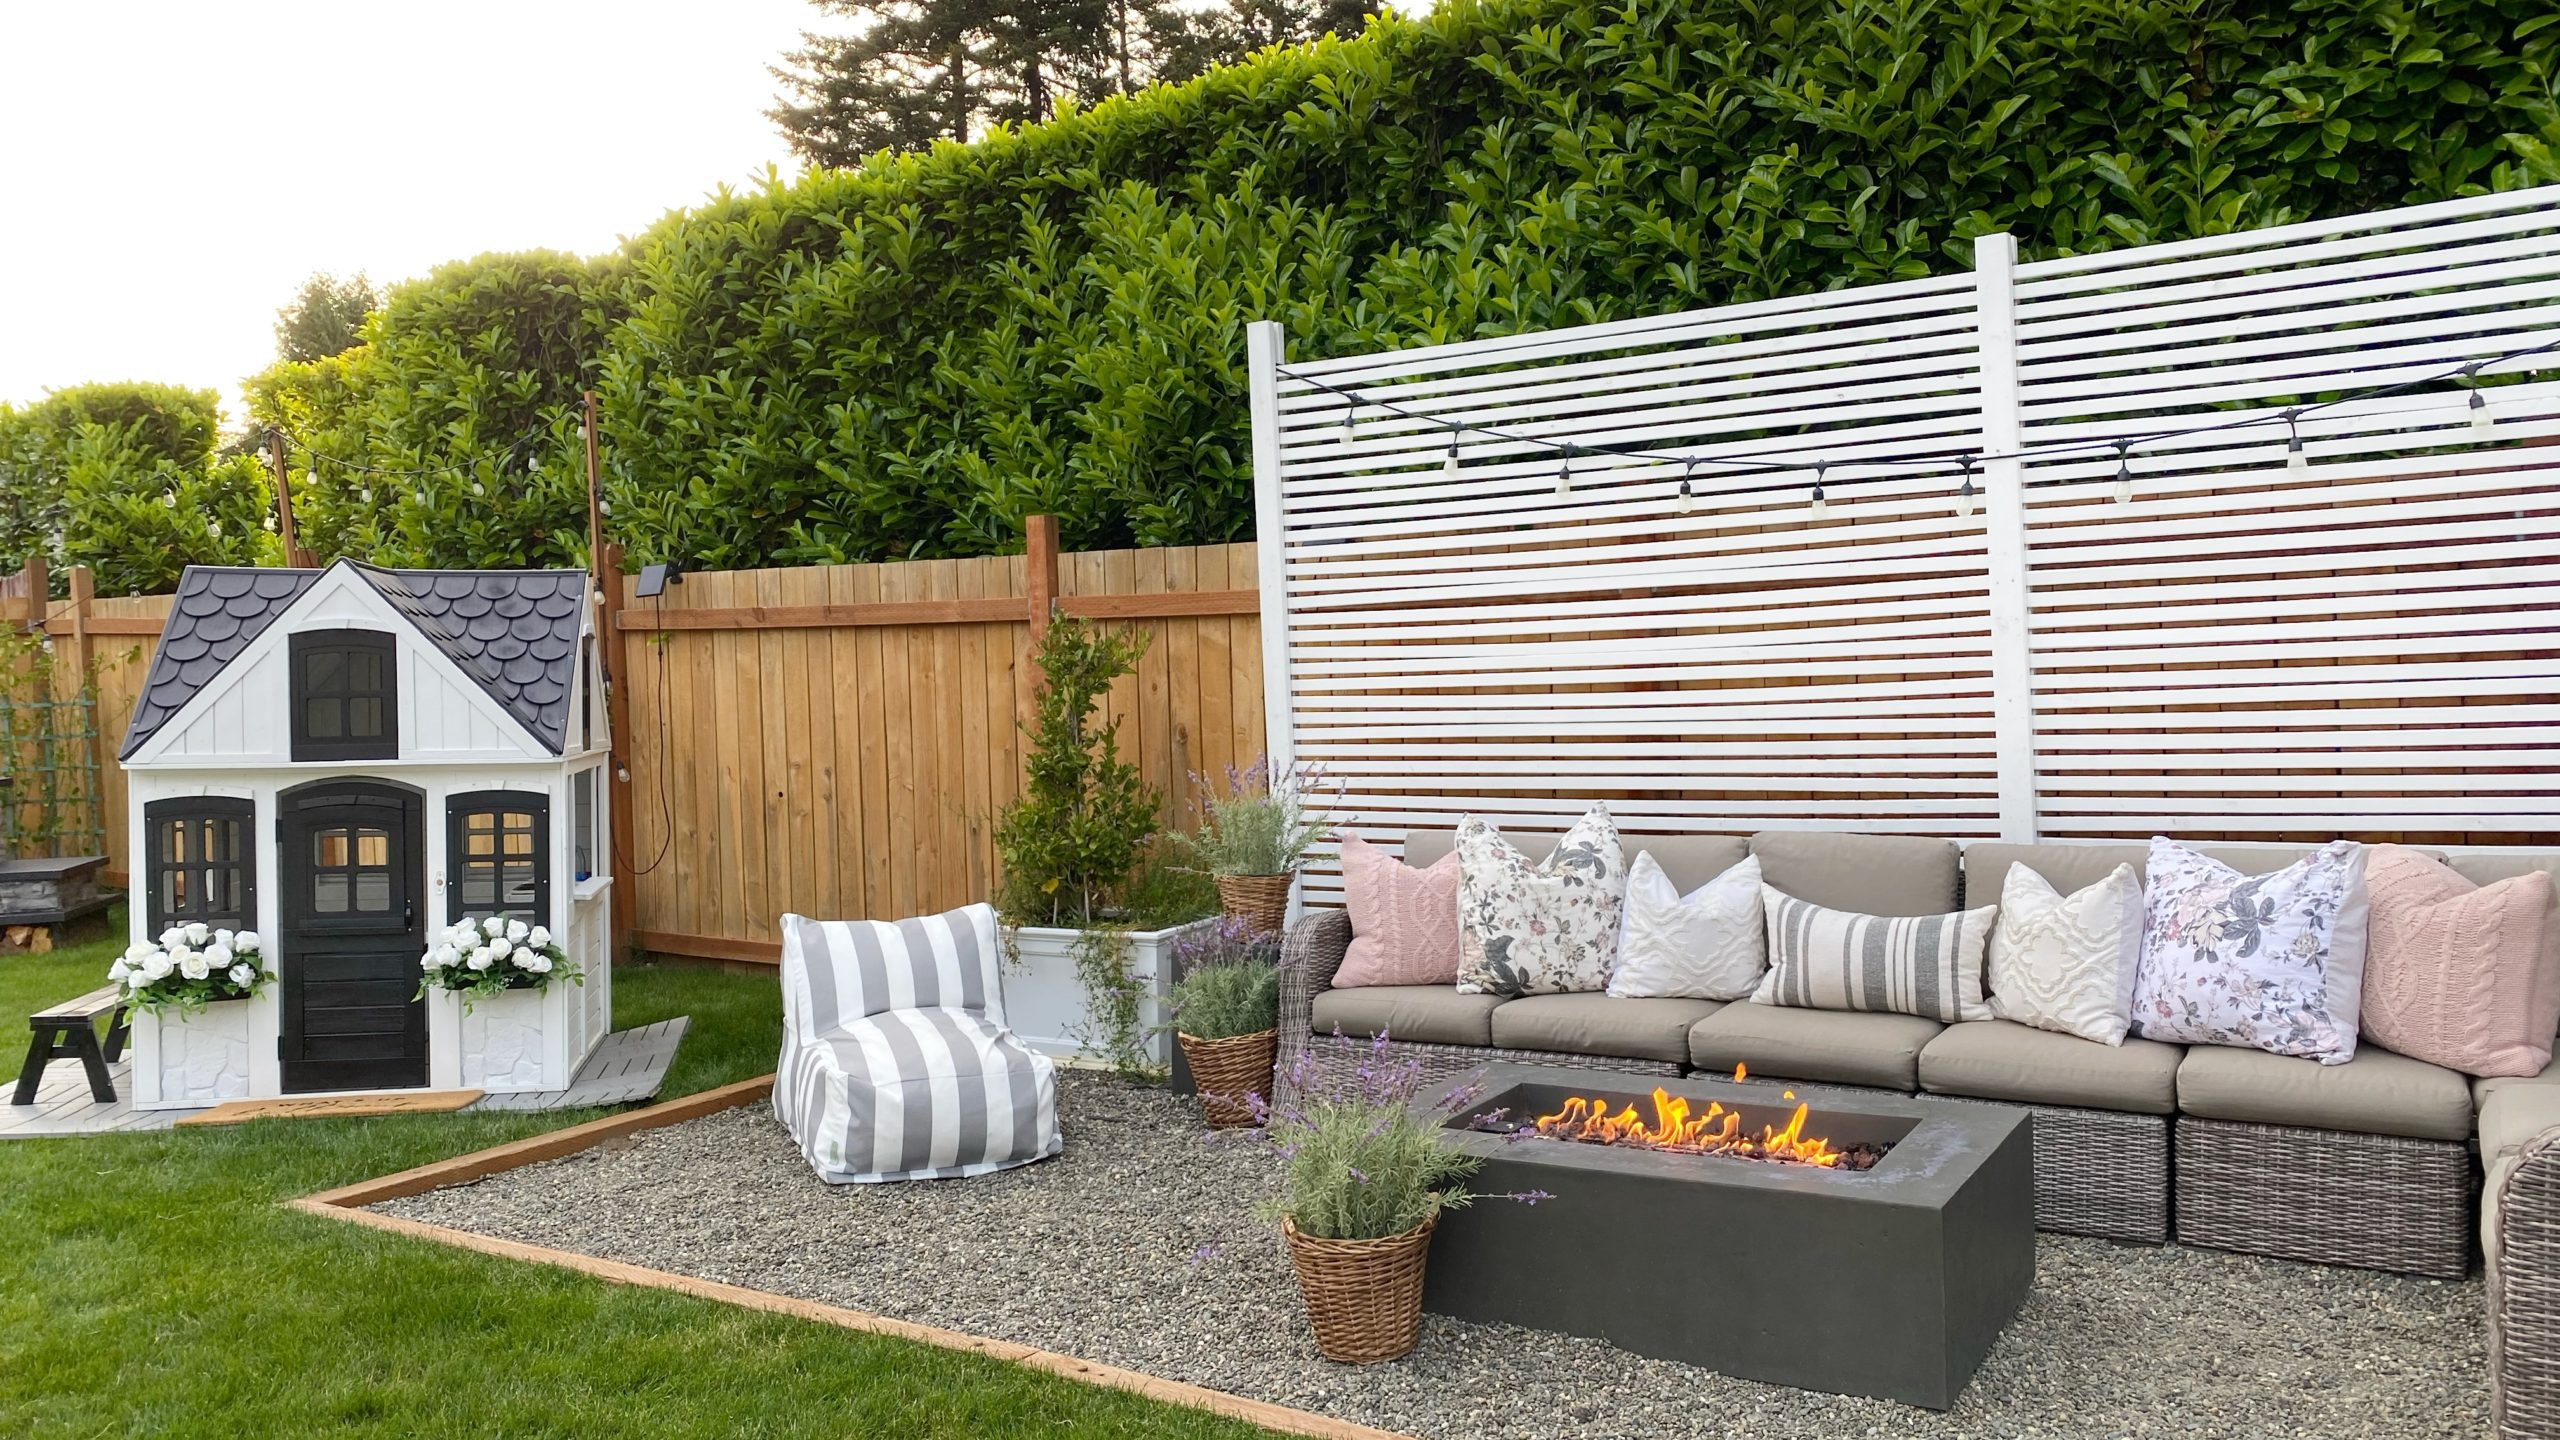
When my partner and I bought our 1950s ranch, the “patio” was a hodge-podge of cracked stepping-stones set in crabgrass. We dreamed of an outdoor dining space but balked at the cost, mess, and permanence of a concrete pour. One Saturday, after tripping over yet another wobbling stone, we declared, Enough and committed to a gravel patio—no cement trucks, no jackhammers, and (best of all) a weekend-friendly price tag. Two days, a borrowed plate compactor, and a lot of laughs later, we had a smooth, stable terrace that still looks sharp five summers on.

1. Why Choose Gravel Over Concrete?
- DIY-ability: Gravel patios require only hand tools plus a short rental of a compactor. No finishing trowels, rebar, or mystical knowledge of slump ratios.
- Drainage: Rainwater soaks through instead of puddling or cracking like concrete in freeze-thaw climates.
- Flexibility: Want to expand the bed or swap shapes later? Just pull the edging and add more base—no demolition.
- Budget: Ours came in under $600 (2025 prices) for a 12′ × 14′ pad, whereas concrete quotes started at $3,200.
2. Design First: Size, Shape, and Location
Before you touch a spade, grab graph paper—or your favorite design app—and sketch.
- Function drives footprint: We seated six at an 8-foot table plus a 2-foot perimeter for chairs and walk-around space. That’s how we landed on 12′ × 14′.
- Sun and shade: Track the sun across your yard. We sited ours on the east side so dinners glow in sunset light without baking at noon.
- Slope savvy: A gentle slope (≤ 2 %) is perfect—water runs off yet compaction is easy. If yours is steeper, plan to cut and fill or step the patio.
- Proximity to the kitchen: Far enough from barbecue smoke drifting indoors, close enough you’re not sprint-serving hot plates.
Personal misstep: I originally staked the patio 3 feet from the siding. The building inspector—and my partner’s smoke-sensitive nostrils—reminded me wood siding + grill sparks = bad combo. We nudged it out to 6 feet and gained a neat herb border.
3. Tools & Materials Checklist
| Item | Quantity (12 × 14 ft) | Notes |
|---|---|---|
| Landscape marking paint or twine | 1 can / roll | Outline shape |
| Shovel & spade | — | Dig & edge |
| Wheelbarrow | 1 | Haul soil & gravel |
| Class II road base (¾-inch minus) | ~2 cu yds (≈ 3 tons) | Structural foundation |
| Decorative gravel (⅜” – ¾”) | ~1 ½ cu yds | Pea gravel, decomposed granite, or river rock |
| Landscape fabric | 200 sq ft | Weed barrier, optional but helpful |
| Steel or composite edging | 54 ft (perimeter + overlap) | Keeps gravel contained |
| 10″ landscape spikes | 1 box | Anchor edging |
| Plate compactor | 1 rental (4 hrs) | Essential for stable base |
| Rake & tamper | — | Level & pack corners |
| Broom | — | Final dressing |
Pro tip: Call rock yards, not big-box stores, for bulk gravel. Many deliver under $100 and skip the endless bag cutting that haunted my first project.
4. Weekend Timeline at a Glance
| Day | Time Block | Tasks |
|---|---|---|
| Saturday AM | 2 hrs | Mark outline, remove turf |
| 2 hrs | Excavate 4–5″ depth, rough level | |
| Saturday PM | 1 hr | Lay fabric, install edging |
| 2 hrs | Spread & compact road base | |
| Sunday AM | 1 hr | Top with decorative gravel, rake level |
| 1 hr | Compact gently, broom finish | |
| Sunday PM | 1 hr | Place furniture, toast success |
We took leisurely coffee breaks, but total hands-on time clocked in at about eight hours with two people.
5. Step-by-Step Build
5.1 Mark & Strip
Spray-paint or string your patio outline. Cut the sod inside the shape with a flat spade, then peel it up in strips. We composted ours upside-down under tarps; free garden soil next season!
5.2 Excavate & Rough Grade
Dig 4 inches deep for foot traffic patios (5 inches if you plan to park a mower or smoker dolly). Keep the subgrade as level as eyesight allows. A long 2 × 4 and a level set atop the board act as an instant screed. Aim for no more than ¼-inch deviation—it pays off in less gravel later.
Lesson learned: My first dig was more crater than plane. I burned hours hand-shoveling base into low spots. Get the dirt flat now; your back will thank you.
5.3 Fabric Down (Optional but Wise)
Roll woven landscape fabric over the subgrade, overlapping seams 6 inches. It halts deep tap-root weeds while still allowing drainage. Avoid cheap plastic sheeting; it puddles water and breeds slime.
5.4 Edge Installation
Set metal or composite edging along the perimeter, following curves smoothly. Drive 10-inch spikes every 3 feet, angling them slightly outward for grip. The edging should sit flush with the final gravel height, so leave the top half exposed for now.
5.5 Base Layer: Road Base
Shovel Class II base across the area to a uniform 3-inch depth. Mist lightly with a hose—damp fines compact better—then run the plate compactor in overlapping passes north-south, then east-west. The machine feels like wrangling a shopping cart full of bricks, but after two passes the surface will be as firm as a sidewalk. Check level; feather low spots with more base, recompact.
5.6 Decorative Gravel
Spread 1 ½ to 2 inches of your chosen stone. We picked ⅜-inch buff-colored pea gravel for its barefoot comfort and Mediterranean vibe, but crushed granite locks tighter under chairs. Rake into place, skim top flush with edging, and give one light compactor pass (use a carpet scrap under the plate if your gravel is polished to prevent chips). Hand tamp corners where the machine can’t reach.
5.7 Final Groom & Furnish
Broom the surface to float fines downward and reveal a clean pebble finish. Recheck edging height; trim if needed. Replace a few decorative flagstones on paths for continuity. Then roll out the café table, string solar lights, and test the patio with your beverage of choice.
6. Seating & Styling Ideas
- Crushed-rock rug: Border the patio with a contrasting 4-inch strip of darker stone to frame the space.
- Paver insets: Drop large square pavers at chair legs to stop sinking—dry lay atop gravel and wiggle until flush.
- Container wall: Cluster pots of rosemary, lavender, and dwarf olive for scent and soft edges.
- Portable shade: A cantilever umbrella base sits stable on compacted gravel and relocates seasonally—no jackhammering needed later.
7. Maintenance Cheat Sheet
| Task | Frequency | Time |
|---|---|---|
| Rake to even surface | Monthly or after storms | 5 min |
| Top up gravel | Every 2–3 years | 1 hr, 3–4 bags |
| Weed patrol | As needed | 2 min spot pull |
| Edge check (spikes tight) | Spring & fall | 10 min |
Ours sees heavy chair drag, but a 50-lb bag of replacement pea gravel every other year keeps it looking freshly installed.
8. Troubleshooting & Pro Tips
- Chair legs sink: Add paver pads or switch to wider-foot furniture like Adirondacks.
- Gravel migrates to lawn: Upgrade to taller edging or install a 12-inch stepping-stone threshold at transitions.
- Dusty surface: Spray lightly with water, then mix in a cup of polymeric sand per square yard; it binds fines after setting.
- Cat litter box effect: If neighborhood felines treat your patio like a sandbox, rake pinecones or spray aromatic deterrent until habits break.
Embarrassing memory: Our border collie decided loose gravel was perfect fetch ammo, flinging stones across our sliding glass door. A quick solution: a weathered wooden “ball basket” station and a polite ban on gravel tosses (reinforced with treats). Problem solved—and glass intact.
9. Upgrades for Year Two and Beyond
- Fire-pit addition: Scoop a 3-foot circle at one edge, set a steel ring, and line with larger river rock. The compacted base already exists—easy win.
- String-light posts: Sink four 4 × 4s outside the gravel line, guy them with eye-bolts and wire, and weave Edison bulbs overhead. Instant bistro feels.
- Gravel-stable stepping path: Extend a 2-foot ribbon leading to the garden with the same stone for design cohesion.
- Permeable paver edging: Replace metal edging with cobbles mortared on a flexible base for an Old-World facelift without losing drainage.
10. Cost Breakdown (12 × 14 ft)
| Component | Amount | Cost (USD) |
|---|---|---|
| Road base (3 tons) | $45/ton | $135 |
| Pea gravel (1.5 tons) | $60/ton | $90 |
| Landscape fabric | — | $25 |
| Metal edging & spikes | — | $95 |
| Plate compactor rental | 4 hrs | $60 |
| Misc. (paint, tool wear, beverages) | — | $40 |
| Total | — | $445 |
Even with 10 % padding for mis-measures, you’re still far below poured concrete. And there’s no waiting a week for cure time—guests can clink glasses by Sunday night.
11. Reflection: The Gravel Patio Payoff
Five years in, my favorite summer ritual is barefoot coffee at sunrise, toes sinking just enough into cool pebbles. Rain storms percolate quietly instead of pooling, and winter frosts leave no cracks to repair. Perhaps best of all, we know we can expand or reshape the patio if family gatherings grow—but so far its cozy footprint has hosted everything from toddler inflatable pools to late-night guitar circles without a hitch.
Building a gravel patio isn’t glamorous in the Instagram-time-lapse sense. It’s honest labor—shovel squeaks, tamper thumps, dust in your hair. Yet there’s a meditative rhythm to leveling each load, a satisfying crunch underfoot when you rake the final swirl, and a glow that comes from crafting something both beautiful and practical with your own hands.
12. Your Turn: Grab the Shovel
If you’re craving outdoor living space but dread cement trucks and busted budgets, gravel may be the sweet spot. Plan with purpose, measure thrice, and compact like you mean it. By sundown on day two, you’ll step back, brush gravel dust off your jeans, and realize you’ve transformed that forgotten patch of lawn into an all-season gathering hub—no concrete required.
Fire up the grill, string the lights, and let the good times crunch.
Ask ChatGPT


