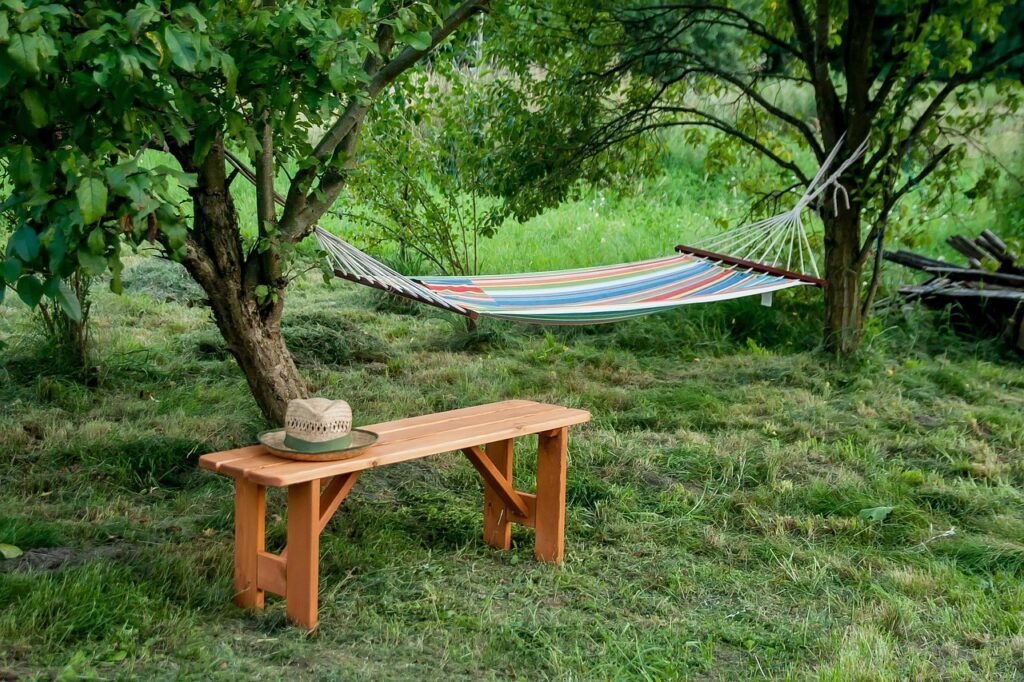
The first time I tried growing vegetables, I attacked my backyard like an archaeologist unearthing treasure—shovels, rototiller, the whole dusty spectacle. I ended up with sore shoulders, a patchwork of clumpy soil, and a bumper crop of buried weed seeds that sprouted faster than my lettuce. The next spring a seasoned gardener neighbor leaned over the fence and said, “Try gardening over the soil instead of in it—let the worms do the digging.” That off-hand tip ushered me into the world of no-dig gardening, and I haven’t lifted a spade in anger since.
If you’re new to growing food or simply tired of wrestling with heavy clay and perennial weeds, a no-dig, sheet-mulched garden can save your back, rebuild soil health, and have you harvesting in a fraction of the time.
1. What Exactly Is No-Dig Gardening?
No-dig (often called “lasagna gardening” or “sheet mulching”) builds new soil on top of the ground rather than turning what’s underneath. Instead of tilling, you smother existing grass and weeds with a light-blocking layer—usually cardboard or thick newspaper—then pile on alternating layers of organic matter such as compost, leaves, and straw. Over time, earthworms and microbes transform that layered lasagna into a loose, fertile loam while you focus on planting and watering.
Key Principles
- Minimal soil disturbance – Every time you till, you expose dormant weed seeds to light and break up beneficial fungal networks. No-dig keeps those systems intact.
- Continuous mulch – A living or dead mulch blanket protects soil from erosion, moderates temperature, and feeds microbial life.
- Organic inputs – Compost, leaf mold, manure, and straw replicate the natural forest-floor process of building humus from the top down.
2. Why Choose No-Dig?
- Less labor – No back-breaking digging or double-spading.
- Rapid weed suppression – Cardboard and thick mulch starve weeds of light; tender seedlings push through the soft top layer instead.
- Improved soil structure – Worm tunnels act like mini-drainpipes, preventing compaction even in clay.
- Higher yields – Studies by no-dig pioneer Charles Dowding show equal or greater harvests compared to tilled beds, with far fewer weeds.
- Carbon sequestration – Leaving soil undisturbed locks in carbon and fosters mycorrhizal fungi, a win for the planet.
I switched purely to save time, but the bonus of richer soil and almost zero weeds keeps me loyal.
3. Planning Your No-Dig Plot
A. Pick the Right Spot
- Sunlight – Vegetables crave 6–8 hours of direct sun. Track shadows through a sunny day; the brightest window often isn’t obvious until you observe.
- Access – Place beds near a hose and within easy reach of the kitchen. The closer the plot, the more often you’ll pluck that pest caterpillar or harvest cilantro before it bolts.
- Size – Start small: a 4 × 8-foot bed provides plenty of salads without overwhelming you. You can add modules later.
B. Gather Materials
Most ingredients may already be in your neighborhood.
| Layer | Quantity for 4 × 8 ft | Sources |
|---|---|---|
| Brown cardboard (no tape) | Enough to cover area twice | Appliance stores, recycle bins |
| Finished compost | 3–4 wheelbarrow loads (~8 cf) | Municipal yard-waste site, bagged store-bought |
| “Brown” material (dry leaves, straw) | 2–3 bags | Last autumn’s leaf pile, feed store |
| “Green” material (grass clippings, coffee grounds) | Bucket or two | Your lawn, local café |
| Weed-free mulch (straw, wood chips) | One bale or 2 cu ft | Garden center |
| Optional amendments | Handfuls per square foot | Rock phosphate, kelp meal, worm castings |
If compost is scarce, bulk up layers with partially decomposed leaves or aged manure; just avoid fresh animal waste for food safety.
4. Building the Bed: Step by Step
Day 1 Morning – Site Prep
- Mow low – Scalp existing grass or weeds to ground level; leave clippings in place.
- Edge the perimeter (optional) – A border of bricks, logs, or 2 × 6 lumber keeps layers neat. I repurposed old cedar fence boards.
Day 1 Midday – The Cardboard Blanket
- Soak cardboard – Hose it until pliable; dampness helps conform to bumps and jump-starts decomposition.
- Overlap by 6 inches – Weeds exploit gaps. Two staggered layers ensure darkness underneath.
- Avoid shiny print – Stick to plain kraft; colored inks may contain heavy metals.
Day 1 Afternoon – Layer Lasagna
- First compost layer (1 inch) – Think frosting, not cake. This seed-free medium invites worms upward.
- Green layer (½ inch) – Scatter grass clippings or coffee grounds to add nitrogen.
- Brown layer (2 inches) – Top with shredded leaves or straw.
- Repeat – Alternate green and brown until the pile reaches 6–8 inches. It will settle by half within weeks.
- Final dressing – Cap with 2 inches finished compost for a tidy, seed-ready surface. Water thoroughly.
Personal note: My first bed was a lumpy six-layer cake because I eyeballed thickness. Using a ruler the second time produced a perfectly level surface and prettier rows.
5. Planting Into Fresh Layers
You can plant immediately—yes, really!
- Seeds – Rake small furrows in the top compost layer, sow, then lightly cover with the same compost. Carrots, radishes, and lettuce sprout happily.
- Transplants – Wiggle aside mulch, dig a palm-sized hole through soft layers, nestle seedling pot-deep, backfill with compost, and push mulch back around stems.
- Spacing – Because the soil stays fluffy, roots explore horizontally; you can tuck plants closer than conventional rows (e.g., 10 inch centers for kale).
The cardboard below remains intact for a month or two, then softens. By the time roots reach it, worms will have opened gateways.
6. Watering & Feeding
A. Irrigation
No-dig beds retain moisture like a sponge, but seedlings still need consistent water. I ran ½-inch drip tubing on a simple timer: 20 minutes every other dawn in high summer. Deep, infrequent watering encourages roots to chase moisture downward.
B. Fertility Boosts
Each spring, sprinkle a half-inch of new compost, then push mulch back in place. With heavy feeders (tomatoes, squash), side-dress mid-season with worm castings or diluted fish emulsion.
7. Ongoing Mulch Strategy
Rule of Thumb: Never let soil peek through. Exposed earth invites weed seeds and dries out fast.
- Leaf litter in fall protects soil and feeds fungi.
- Grass clippings (thin layers) in summer provide nitrogen and curb evaporation.
- Straw over winter insulates garlic and overwintering kale.
Top up mulch when you see it thinning to less than 1 inch.
8. Weeds, Pests, & Common Troubles
| Issue | Likely Cause | Fix |
|---|---|---|
| Persistent grass runners | Cardboard gaps or too thin | Tuck new cardboard patches, smother with mulch |
| Fungus gnats or pill bugs | Mulch too damp, compost not fully finished | Pull back mulch, let surface dry, add drier leaves |
| Slugs love greens | Cozy mulch environment | Lay beer traps, sprinkle crushed eggshells, encourage ducks |
| Poor seed germination | Too coarse top layer | Dust furrows with sifted compost or potting mix |
My rookie mistake was using hay instead of straw—hay’s grass seeds sprouted everywhere. Straw (seed-free) or shredded leaves keep you sane.
9. Crop Rotation the No-Dig Way
Even without tilling, moving plant families yearly thwarts soil-borne diseases and balances nutrients.
| Year | Bed A | Bed B | Bed C | Bed D (if using four beds) |
|---|---|---|---|---|
| 1 | Tomatoes/Peppers | Beans/Peas | Leafy Greens | Roots |
| 2 | Leafy Greens | Tomatoes/Peppers | Beans/Peas | Roots |
| 3 | Roots | Leafy Greens | Tomatoes/Peppers | Beans/Peas |
If space is limited, alternate heavy feeders (tomatoes) with legumes (beans) in opposite halves.
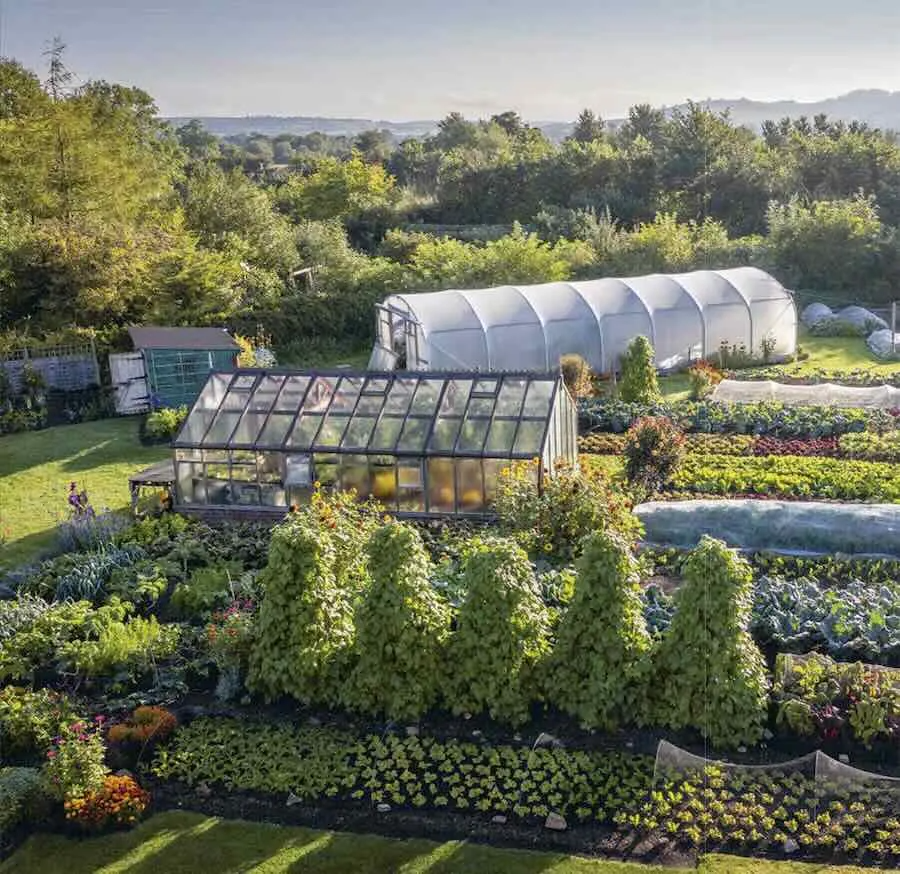
10. Scaling Up & Variations
- Raised no-dig beds – Build 12-inch-high frames, line with cardboard, then fill with alternating layers; great for mobility issues and tidy aesthetics.
- Container no-dig – Large fabric grow bags accept mini lasagna layers and yield salad greens on balconies.
- Orchard understory – Sheet-mulching around young fruit trees suppresses grass competition while adding nutrients.
After two seasons, I converted the entire backyard lawn into a mosaic of 4 × 8 beds and berry rows—zero sod removal required.
11. Seasonal Calendar Cheat Sheet (Temperate Climates)
| Season | Tasks |
|---|---|
| Early Spring | Build new beds, sow peas, lettuce, onions into compost cap |
| Late Spring | Transplant tomatoes, peppers, mulch with straw |
| Summer | Top up grass-clipping mulch, side-dress heavy feeders |
| Autumn | Plant garlic, cover beds with leaf mold, sow cover crops (clover) |
| Winter | Rest beds; add kitchen-scrap compost under mulch layer |
No-dig beds warm a tad faster than bare soil since dark compost absorbs sun—a jump-start for early carrots.
12. Cost Breakdown (4 × 8 ft Bed)
| Item | Quantity | Cost (USD) |
|---|---|---|
| Cardboard | Free | $0 |
| Local compost (bulk) | ½ cubic yard | $25 |
| Straw bale | 1 | $7 |
| Leaves (raked) | Free | $0 |
| Optional border wood | 2 × 6 × 8′ cedar (3) | $34 |
| Total | — | $66 |
Compare that to store-bought raised-bed kits at $160+, plus bagged soil. Over time the bed’s fertility climbs, lowering fertilizer expenses.
13. My Top Five Beginner Tips
- Start only one or two beds – Early success beats ambitious burnout.
- Source free materials – Coffee shops often bag grounds; tree-service chips make excellent mulch edges.
- Plant quick wins – Radishes, salad mix, and bush beans deliver confidence within weeks.
- Track with a garden journal – Note layer composition, planting dates, yields; next year’s tweaks write themselves.
- Trust the process – The pile may look “raw” at first; give microbes time and resist the urge to dig down and inspect.
14. Final Thoughts: Let the Soil Work for You
No-dig gardening flips the script on traditional till-and-sweat methods. Instead of forcing nature into tidy rows with heavy steel, you collaborate—offering organic “buffets” from above while life below rearranges nutrients, opens air pockets, and hands you crumbly soil as a gift.
My own yard, once a weedy, compacted patch, now sprouts towering tomatoes and fat carrots with nothing more than seasonal mulch refreshes. Earthworms scatter at every handful, and I haven’t battled a serious weed invasion in years. Most rewarding, I spend spring weekends planting and sipping lemonade instead of hefting a tiller.
If you’re yearning for fresh produce but short on time, energy, or perfect soil, roll out some cardboard, layer up organic leftovers, and let your future harvests rise from the slow magic beneath your feet. The no-dig revolution starts with a single sheet of cardboard—and ends with crunchy sugar-snap peas plucked steps from your door. Happy layering, and welcome to soil’s gentle way.